
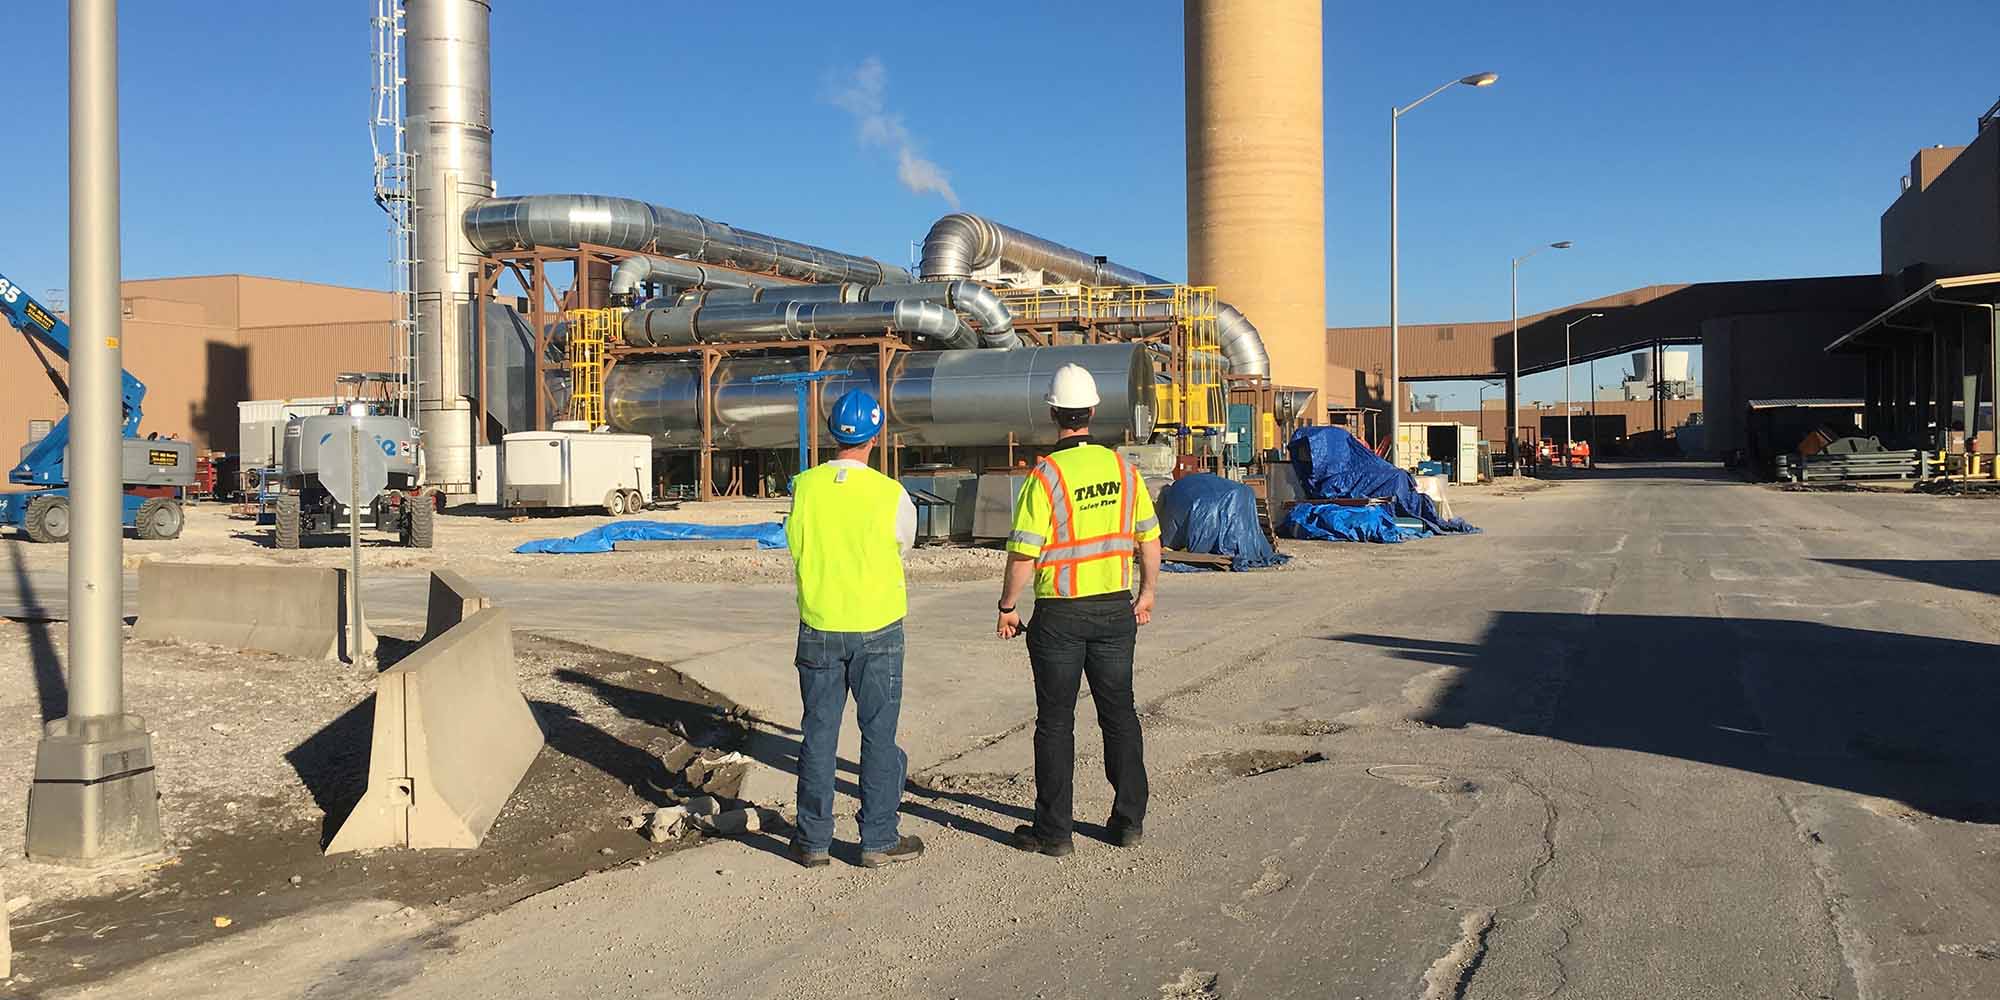
Regenerative thermal oxidizer installation succeeds when you plan thoroughly, install precisely, and commission methodically. With disciplined execution, facilities routinely achieve 98%+ uptime from first fire while meeting all performance guarantees and permit conditions.
Moreover, regenerative thermal oxidizer installation is a multidisciplinary effort—civil, structural, mechanical, electrical, controls, and EHS. Therefore, select a partner with deep RTO experience: proven rto manufacturer credentials, field-installation capability, and service programs for regenerative thermal oxidizer maintenance.
Pre-Installation Planning and Site Preparation
Start with a documented site assessment:
- Soils and foundations: geotech report, frost depth, groundwater considerations, and settlement risk.
- Utilities and routing: natural gas, power, compressed air, water, and network paths with isolation points.
- Access and laydown: crane swing radius, staging areas, truck routes, and seasonal restrictions.
- Environmental constraints: stormwater, dust, noise, and waste controls tied to permit conditions.
Design the foundation for stability and growth:
- Reinforced concrete: thickness and rebar sized to equipment loads and geotech bearing capacity.
- Thermal expansion allowances: sleeves, blockouts, and anchor layouts that respect 2–4 inches of thermal growth.
- Vibration control: isolation pads and grout specs that protect structure and process neighbors.
Right-size your site logistics:
- Heavy lifts: confirm crane capacity and pick radius; validate rigging plans and exclusion zones.
- Transport constraints: oversize permits, bridge clearances, turn radii, and escort requirements.
- Maintenance access: platforms, doors, and pull space for valves, media, fans, and burners.
Project Planning and Management
Build a realistic, resource-loaded schedule:
- Critical path: foundation → steel → equipment set → MEP tie-ins → insulation → controls → commissioning.
- Typical duration: 12–20 weeks from site start to operational startup, 6–16 weeks from delivery to first fire.
- Permits and approvals: construction, air, electrical, and hot work—planned early to avoid blockers.
Staff with the right skills at the right time:
- Peak headcount: 15–40 skilled trades and specialists for heavy set, duct/piping, and controls.
- Role clarity: GC, rigging, mechanical, electrical, controls, and OEM field service—all with named leads.
- Quality and safety governance: ITPs (inspection test plans), JSAs, and daily coordination huddles.
Choose experienced partners:
- Vendor criteria: established regenerative thermal oxidizer manufacturers, in-house valve/media expertise, and spares on hand.
- Breadth of capability: thermal oxidizer manufacturer that supports thermal oxidizer design, installation, commissioning, and lifecycle service.
- Proof points: similar-chemistry references, acceptance test templates, and response-time SLAs.
Foundation and Structural Installation
Pour for precision and durability:
- Flatness and elevation: within tolerance to protect fan alignment and valve sealing.
- Anchor systems: corrosion-protected, torqued to spec, and mapped for future verification.
- Drainage and housekeeping pads: keep water away; simplify cleaning and inspection.
Accommodate thermal movement:
- Guided supports and flex: expansion joints, slip details, and guided pipe shoes where growth is directional.
- Duct supports: design for hot weight and wind; verify at operating temperature.
Equipment Delivery and Positioning
Plan the lift; then lift the plan:
- Rigging studies: center-of-gravity, pick points, taglines, and lift path sequencing.
- Set tolerances: position major modules within ¼” to protect valve timing and seal performance.
- Modularization: shop-fit subassemblies (valve skids, media cassettes, MCCs) to cut field hours by 30–50%.
Safety is non-negotiable:
- Lift protocols: certified operators and riggers, barricades, spotters, radios, and weather hold points.
- Documentation: daily lift plans, toolbox talks, and sign-offs.
Mechanical Installation and Integration
Ductwork done right:
- Flow first: smooth transitions, adequate straight runs, and even branch distribution.
- Hot-service details: expansion joints, high-temp insulation, cleanouts, and access doors.
- Leak integrity: full-penetration welds where required; tested to spec before insulation.
Piping that supports reliability:
- Fuel gas: code-compliant materials, regulators, double-block-and-bleed, and leak testing.
- Compressed air: clean, dry air to valve actuators with local filtration and pressure verification.
- Purge and dilution: sized for safe light-off and shutdown sequences.
Valves that seal and switch on time:
- Installation: precise shaft alignment, seat verification, and stroke calibration.
- Timing: tune switch intervals (typically every 2–4 minutes) to temperature profiles and efficiency.
- Maintenance access: lifting lugs, clearances, and removal paths planned now—not later.
Insulation and access for people who do the work:
- Thermal envelope: multi-layer high-temp systems with weather jacketing and removable covers.
- OSHA-compliant access: platforms, ladders, guardrails, and lighting at all service points.
Electrical and Control System Installation
Power and drives:
- Distribution: 480–4160V as required, with selective coordination and arc-flash labels.
- MCCs and VFDs: documented settings, cooling, and harmonic considerations.
- Emergency stops: clearly located and tested.
Controls that make compliance easy:
- PLC/HMI: permissives, trips, and guided operator workflows.
- Instrumentation: thermocouples, ΔP, and flow devices installed, labeled, and calibrated.
- Data: historian tags for temperature, valve states, alarms, and efficiency KPIs.
Communications and safety:
- Plant integration: OPC/Modbus/EtherNet/IP as needed; read-only vs. write access defined.
- Life-safety: flame supervision, high-temp trip, low-flow protection, purge verification, and interlocks fully tested.
Commissioning and Startup Procedures
Verify before fire:
- Mechanical checks: torque, rotation, clearances, leak tests, and insulation finishes.
- Electrical/controls: IO checkout, loop tuning baselines, and alarm setpoints.
- Safety walkdown: PSSR punchlist closed.
Heat up with intention:
- Controlled warm-up: ramp to ~1,400–1,500°F, stabilize, and confirm residence time.
- Valve timing: adjust for bed temperatures and target 95–97% thermal efficiency.
- Optimization: tune combustion air and burner control for steady state and turndown.
Train the team:
- Operations: start/stop, upset recovery, and odor complaint response.
- Maintenance: media inspection, valve seals, burner service, and calibration.
- Documentation: SOPs, P&IDs, loop sheets, and spares lists delivered and reviewed.
Performance Testing and Validation
Prove destruction and efficiency:
- DRE testing: three-run EPA methods to verify 99%+ destruction efficiency.
- Heat-balance: confirm thermal efficiency targets and self-sustaining operation at load where applicable.
- Emissions: VOC/HAP limits, opacity, and any site-specific requirements.
Lock in the guarantees:
- Contractual validation: DRE, thermal efficiency, pressure drop, and power/fuel rates measured and signed off.
- Records and certifications: acceptance report with as-built drawings, test data, and calibration certificates.
Installation Challenges and Solutions
Plan for what might go wrong:
- Access bottlenecks: pre-stage components and sequence lifts to avoid conflicts.
- Utilities lagging: temporary services and phased tie-ins to protect the schedule.
- Weather: tents, heaters, or shifts for welding/insulation windows; weather days pre-allocated.
Adapt to the site you have:
- Poor soils: deep foundations or ground improvement.
- Tight campuses: smaller modular picks, night deliveries, and precision rigging.
- Legacy systems: transition ducts and staged cutovers to minimize downtime.
Post-Installation Support and Optimization
Stabilize early; optimize continuously:
- Hypercare (30–90 days): OEM/installer on call with trend reviews and quick adjustments.
- Fine-tuning: valve timing, control loops, and dilution ratios typically yield 3–8% efficiency improvement.
- PM program: calendar and condition-based tasks for valves, burners, instruments, fans, and media.
Think in lifecycle terms:
- Spares: critical valves/seals, actuators, thermocouples, bearings, and gasket kits on site.
- Upgrades: regenerative catalytic oxidizer (hybrid) or controls enhancements where chemistry and duty justify.
- Service partnership: leverage your rto manufacturer or regenerative oxidizer provider for audits and training.
Installation Best Practices and Lessons Learned
What consistently works:
- Early alignment: scope, battery limits, and acceptance criteria defined in writing.
- Shop testing: FATs for valve skids and panels cut field risk.
- Clean data: tag naming standards and KPI dashboards from day one.
What to avoid:
- Undersized access: saves pennies now, costs hours later.
- Skipping purge validation: risks safety and permits.
- Overlooking documentation: if it isn’t written down, it didn’t happen.
Final Thoughts
A disciplined regenerative thermal oxidizer installation pays off immediately: faster acceptance, proven compliance, and stable, efficient operation. Choose experienced partners, follow a verified plan, and document everything—from the first soil boring to the final acceptance signature. With the right team and process, your rto thermal oxidizer will deliver decades of environmental performance and predictable operating economics.
TANN Corporation’s engineers have been designing regenerative thermal oxidizer systems for 40+ years, serving manufacturers across every industry with VOC compliance requirements. Our engineering team evaluates each application individually, recommending system configurations optimized for specific exhaust characteristics and compliance obligations. From initial assessment through installation and decades of ongoing support, we deliver complete emission control solutions. Contact us today for a free quote or to learn more.